Pages

Showing posts with label ice-dyeing. Show all posts

Saturday, July 13, 2013

Quilt Camp Update

We have been busy campers here at Merrymount.  The studio (aka garage) is buzzing with activity (and bugs).  The sun has come out again after several days of rain and clouds.  Here's what we've been up to...more dyeing, more screen printing, breakdown printing, wood block printing, printing with thickened dye...that's the outdoor stuff. 


Indoors, we've been busy making more thermofax screens and doing some sewing and embroidery.


 Molly the mannequin is very busy modeling silk scarves that we have printed - she's got one for every day of the week!
Last but not least, here's some breakdown screen printing and prints to try out a new thermofax screen.


Tuesday, July 9, 2013

Quilt Camp 5 Underway

Here we are on the shores of Lake Winnipesaukee for the 5th year of quilt camp!  (aka my friend Elizabeth's family summer house)  For anyone new to my blog, this isn't a real "camp", it's just what we call our annual summer play time to experiment with surface design, fabric dyeing and any other technique that piques our interest.  It's been a slow start with the creativity this year, we spent a lot of the first week taking care of some PG Fiber2Art business which ate up a lot of time.  But there were things that needed to be done, so that is good.  And we took a day last week to go the New England Quilt Museum in Lowell, MA, so now in our 2nd week we're getting into the groove and I'm finally getting a blog post up.  We've done some dyeing and printing, worked on some unfinished projects and started a few new ones.  Here's some of what we've done so far.
 This is a piece I started back in March in a VCQ workshop, so what you see above was done before arriving.  It's a technique called fractured view.
This is what I've added to it - I'm calling it Winter Oaks.  In a another post I'll show how I got from the 1st to the 2nd photo  It's now ready for quilting.

I wanted to try out some new colors of dye, so these are fat quarters to see what the colors look like.  The 4 on the left are low water immersion of coral, cobalt blue, turkey red and teal; the one on the right is ice dye using coral, yellow & turkey red.
 

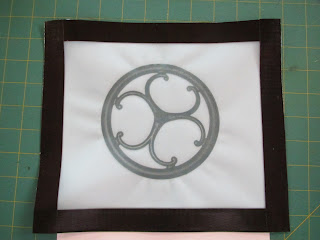
The 2 pictures above are both practice using thickened dye with a thermofax screen.  The colors are not as intense as I'd like but I'm glad they didn't wash out!  The one on the left is done with one of our gear screens (over a piece of fabric previously used for breakdown printing which is what you see in the background); on the right, both pieces were printed first with a screen of a sewer cover and then some graphic rectangles.


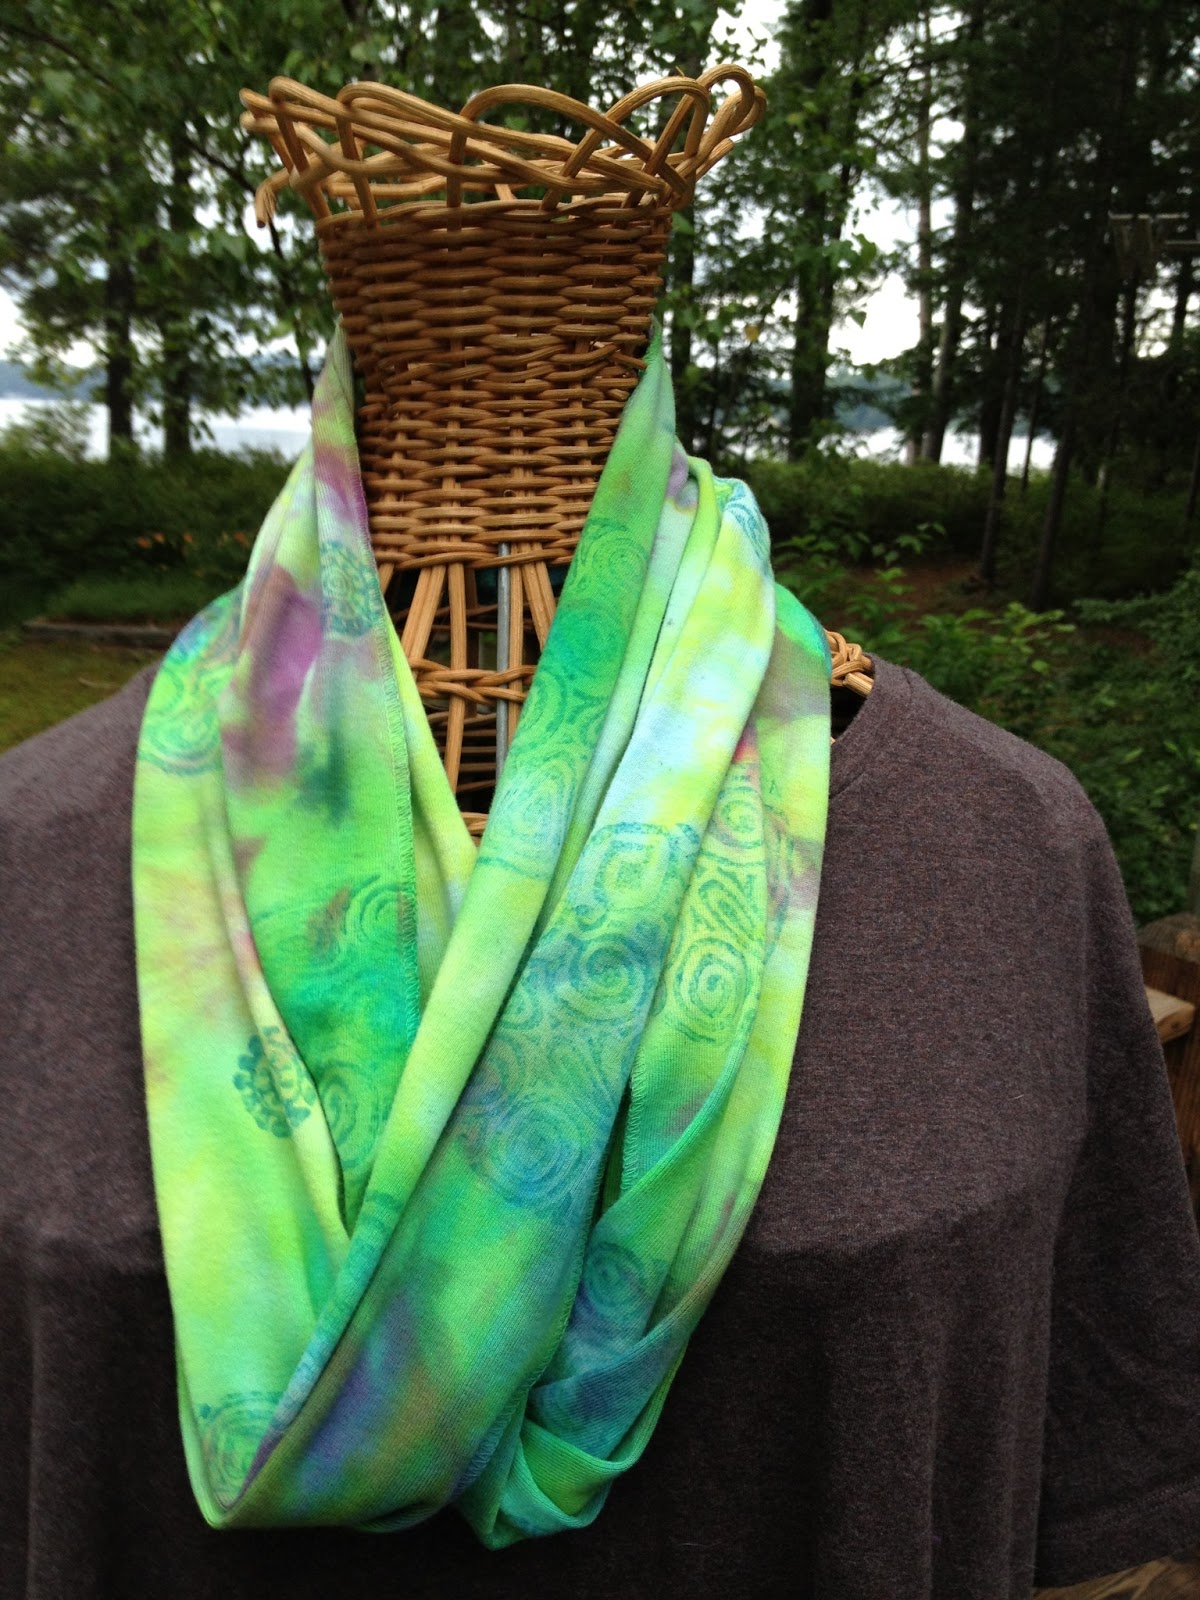
Molly the Mannequin is modeling a circle scarf that I dyed last year.  I knew it needed something else but wasn't sure what. After taking a block printing class right before coming up here, I thought this wooden block print would be just the thing.  This is also done with thickened dye, so the hand of the fabric stays softer than with paint.

Stay tuned for more over the next couple of weeks.


Sunday, March 10, 2013

Snow & Ice Dyeing

We had a final blast (I hope) of winter last week, our biggest snow of the season.  It was about 5-6 inches, but alternated between snow and rain, so that it quickly became slushy.  We've had almost no snow for the last 2 years, so I planned ahead to do some snow dyeing by pre-soaking my fabric in a soda ash solution, which serves as a fixative to help the dye adhere to the fibers.  I dug out my supplies - pans to catch the melting snow & dye and a stretcher strip frame with plastic screening tacked to it, and mixed up some dye.  After arranging the fabric on top of the screen, I collected a few pans of snow and packed it on top of the fabric.  Since the snow was so wet, it packed really well. In the past I've had the best results with snow with higher water content.  I poured the dye over the snow and let it sit till the next day. I used 3 colors - turquoise first, then purple & fuchsia.

 The fuchsia and purple completely overpowered the turquoise, which was a bit of a surprise since I had almost completely covered the snow with turquoise first.  I have 3 yards of fabric that all look like the next 2 pictures.

Since I had leftover turquoise, I folded another piece of fabric and saturated it with the rest of the dye. I also had a bit of black which I added in a few places.
Finally, I decided to put my last 2 pieces in an ice dye parfait; instead of using snow and liquid dye, in a round plastic ice cream tub I layered fabric, then ice; sprinkled 3 colors of dye powder on top of the ice; then the next piece of fabric, more ice and 3 more colors of dye.  The process is pretty much the same as with snow - as the snow or ice melt, the dye seeps into the fabric and makes interesting patterns.
 The piece above was on top, and had blue, green, and yellow dye.
This piece was on the bottom, with red, orange and purple.  The colors from the top layer also blend with the bottom as the ice melts.  As I was rinsing out the bottom piece, I thought I'd just made a piece of mud brown, but it actually turned out pretty cool.  It has brown and red, but also some light spots - it could be a background for a fall piece.  Maybe you'll see it  again in another post!

Saturday, July 21, 2012

More From Quilt Camp 4

I'm home now from quilt camp (while Elizabeth remains in NH through most of August) and have gotten most of my stuff put away, so I can try to keep the momentum going. Here are some things I worked on in the last week.
 The 2 pieces above and below are both scarves that were ice-dyed; the fabric is layered with ice cubes on top and the dye powder is sprinkled on top of the ice.  As the ice melts, the dye soaks into the fabric, so the results are somewhat of a surprise, depending on the colors used and number of layers.  These 2 were layers in the the same "parfait".  Both are screen printed. 

The blue/turquoise piece above was an attempt at using tapioca as a resist, following instructions in a Quilting Arts article by Lisa Kerpoe.  After applying the tapicoa and letting it dry, I used thickened dye rather than liquid dye; I think I would have had better results with liquid dye.  The tapioca was difficult to wash off, and there were large areas of white when I was done.  I ended up spraying the whole piece with blue and turquoise dye.
This yellow piece was a sunprint from last year - not very inspiring - so I printed it with an orange.  Much better!
I decided I wanted to see what some of my dye colors looked like individually, so did these 9 half yards on the last day.  A bit backwards, I admit, but I started off with ice dyeing and mixing colors, so wanted to see them separately.
On our last day we had a lovely lunch at Caste in the Clouds, in the Ossipee Mountains overlooking Lake Winnipesaukee. 

Thursday, July 12, 2012

Quilt Camp 4

Greetings from New Hampshire!  My friend Elizabeth and I are in the midst of "quilt camp 4" at her summer house on the lake.  We've had limited internet access so this is the first post.  Weather has been beautiful, we escaped Northern Virginia just before the big storm hit that knocked out power for days.  We have been creating and relaxing, enjoying nature...except for the bear that visited this morning!  Here are a few pictures from the first week and a half.

 This fellow decided to take one of the bird feeders as soon as Elizabeth put it out this morning.
 First round of ice dyeing, a t-shirt and 2 half-yards of fabric.
 This was my big project for week 1; screen printed, stamped and stenciled on duck cloth, 1/2 yard.
 Ice dyeing, round 2. T-shirt & 2 scarves this time.  
 A carved rubber stamp to represent grass for another project.
 Sun printing.
 A beautiful sunset on the lake.
 A walk in the woods at Castle in the Clouds.
 A visit with friends at their camp on nearby Squam Lake.
 We paddled the canoe into the nearby creek in search of dragonflies and other pond life to photograph.
First attempt at breakdown screen printing.  Results of 2nd round are better, photos later!